
A wordpress divi tutorial. STEP ONE: Access your website admin page by...
.jpg)
Access your website admin page by logging in. This will be your website link with an extension of “/wp-admin”. Eg yourwebsite.com/wp-admin
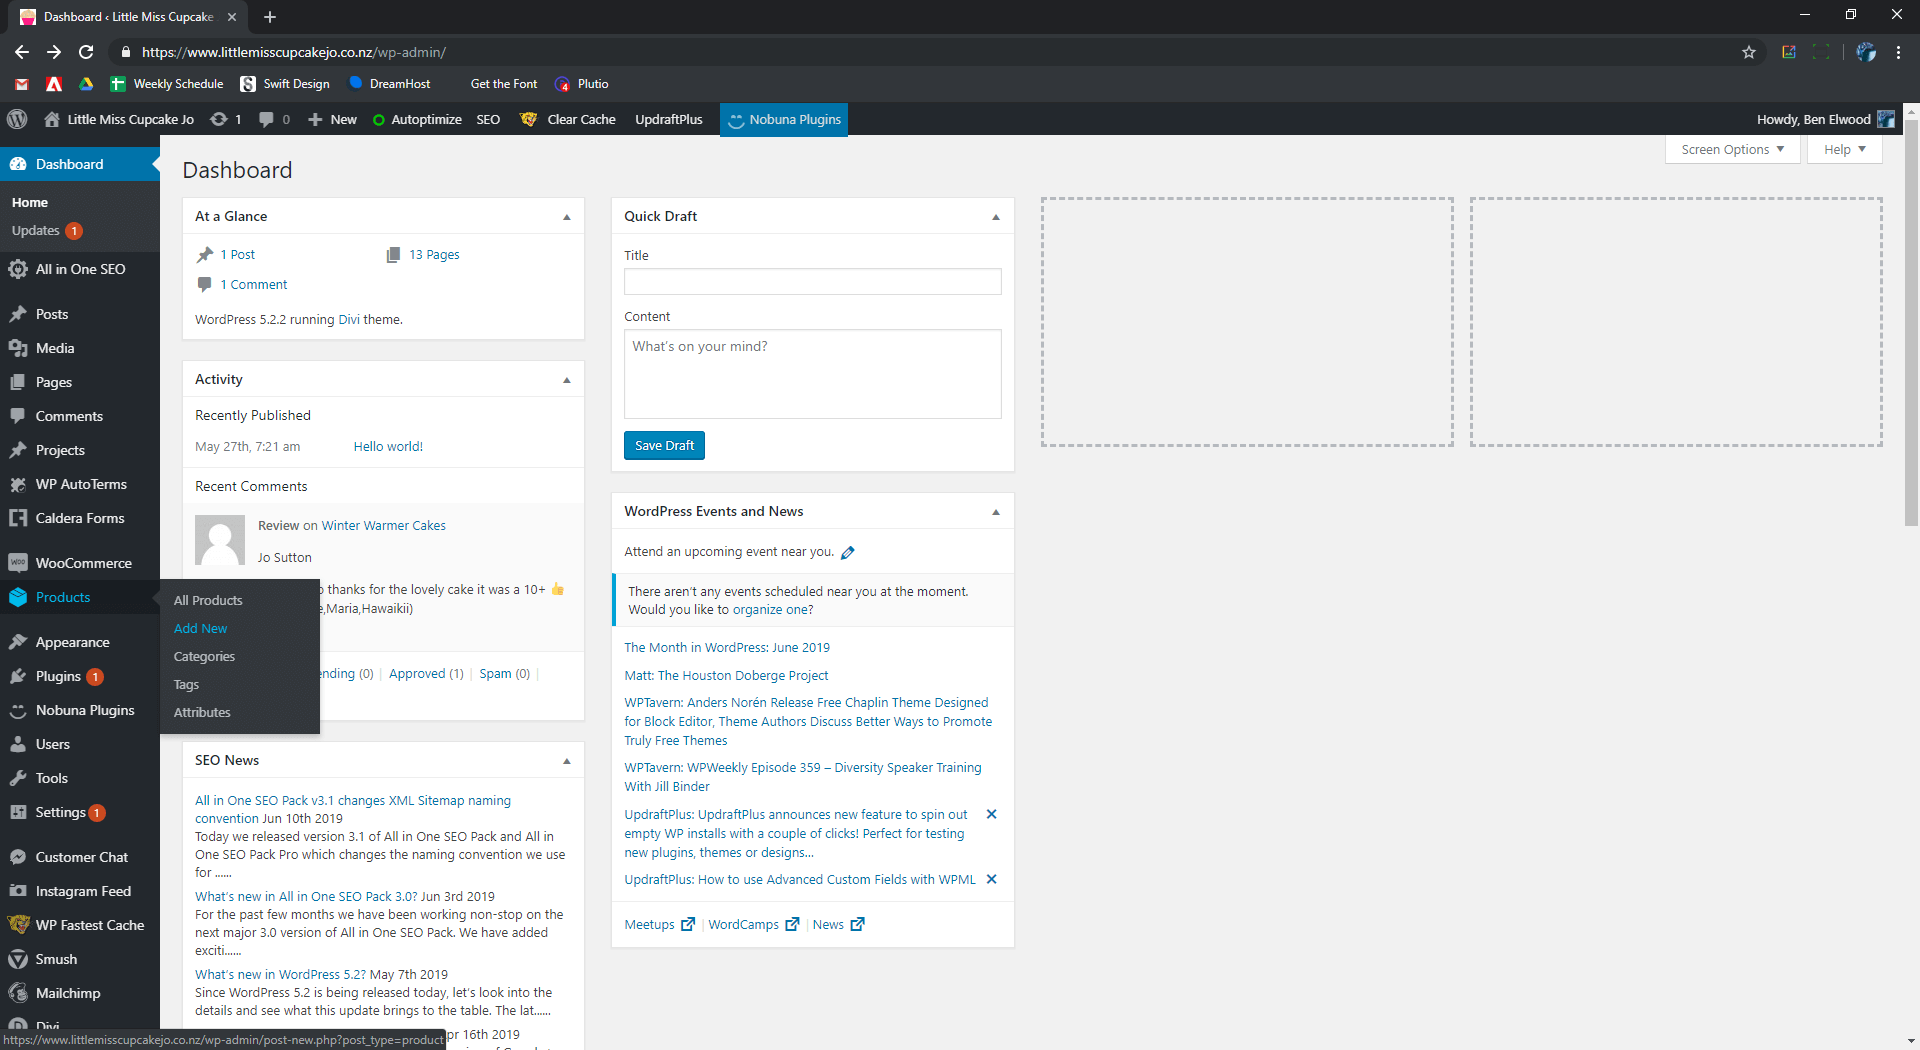
On the left-hand side of your screen, see the vertical bar with a selection of links.
Hover over the “Products” link and then click “Add New”.

Set the product name on the top left. For the purpose of this tutorial I have named this product “TEST_REMOVE”.

On the right-hand side of the page, set the product category by typing in a category name and clicking add category or select an existing one. You can add multiple categories.
Set product tags buy typing and clicking “add”.
Set the product image by clicking the link and adding an image from your library or upload a new image. Please ensure the image size is no larger than 600px . Add more images to the product gallery.

Scroll down to the product data section. We’re setting up a variable product, so click on product type and select “Variable product” as shown.
Set the “Regular price” and “Sale price” of your product

If you run inventory for your product, select the “Inventory” tab on the left hand side to set the SKU number and “Stock status.

Select the “Shipping” tab on the left hand side. Here you can set the Weight and Dimensions of your packaged product if relevant to your shipping codes.

To create variations for your product you must first set the attributes. Select the “Attributes” tab on the left hand side, select “Custom product attribute” from the drop down menu and then click “Add”.

Now a new section will appear. You can now set the name of your attribute and the different values. Here I have created seven different sizes (XXS-XXL). Each individual attribute must be separated by a “|” vertical line. Next you must check the box “Used for variations” in order for these attributes to create our variations. This is all shown below.

After having set your attributes, select the “Variations” tab on the left hand side. Select “Create variations from all attributes” from the drop down menu and click “Go”.
Something like this should pop up, just select “OK”.


All of your variations should now show up individually. Select one and another section will drop down. Here you can set each specific product variations:
-SKU
-Regular price and Sale price
-Stock status
-Weight and Dimensions
-Description
-and Product Image
Anything you leave blank (except regular price) will be set as whatever you have set for the product as a whole (e.g. if you set the product dimensions in the “Shipping” tab and didn’t set it in the variation, then that would be the variations dimensions).

Scrolling down the page is “Product short description” This is the description that shows up first on the product listing next to the image and the price. This is where you put the most relevant information to get your customers to buy.

When all the steps above are completed, scroll to the top of the page and click the blue “Publish” button on the right-hand side.

Iona is the founder of Grow My Business. She brings a strategic view to web design ensuring all websites are customer...
More posts by this authorWeb Design for Growth Focused Businesses.
© 2023. All rights reserved.
Proudly based in Aotearoa New Zealand.
